How to install a domain controller – Windows Server 2016
This article will explain how to install a domain controller.
We’ll use a fresh installed Windows Server 2016 during for this test.
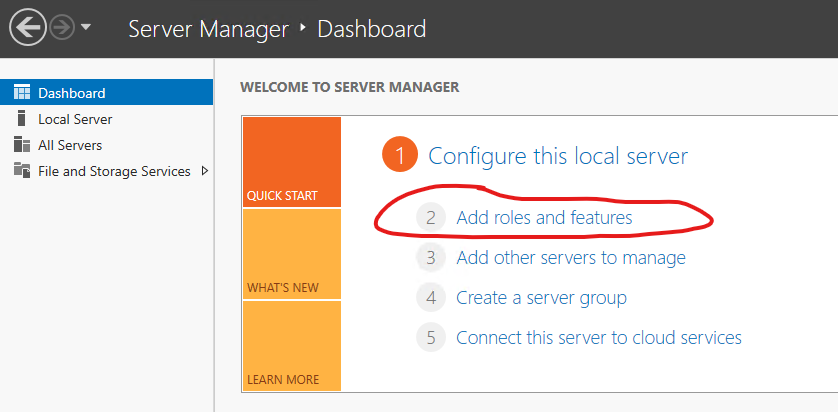
Open a remote desktop connection to your brand new Windows Server 2016 and open Server Manager.
Click on ‘Add roles and features’.
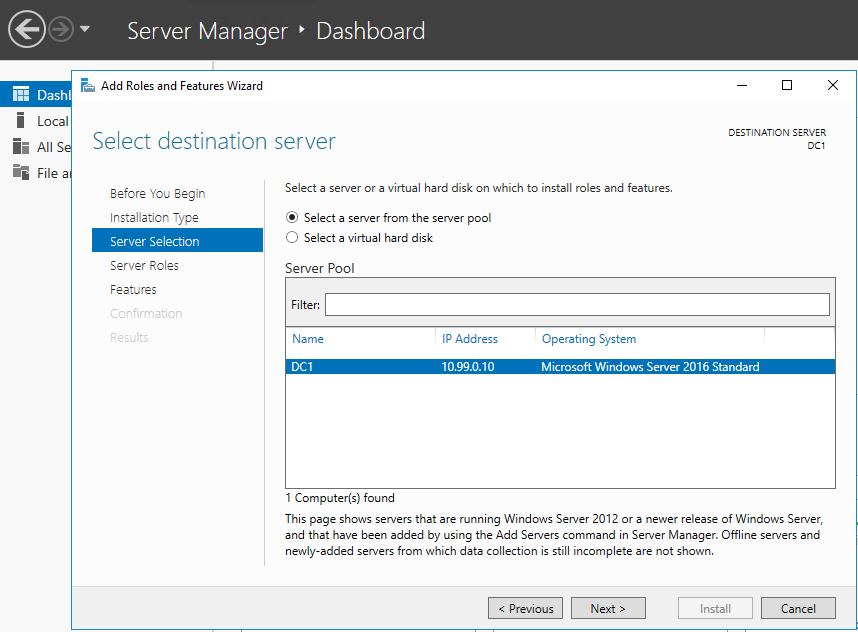
Click on Server Selection, select your one server you see in the list and click on ‘Next’.
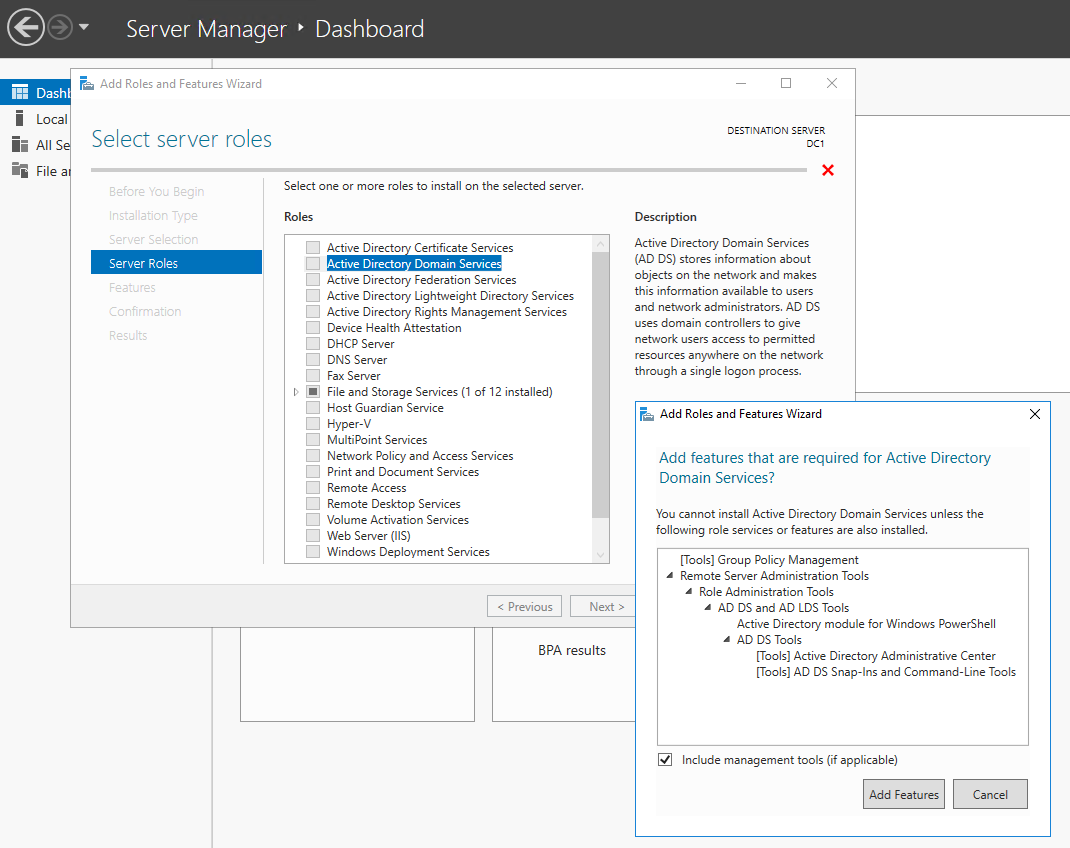
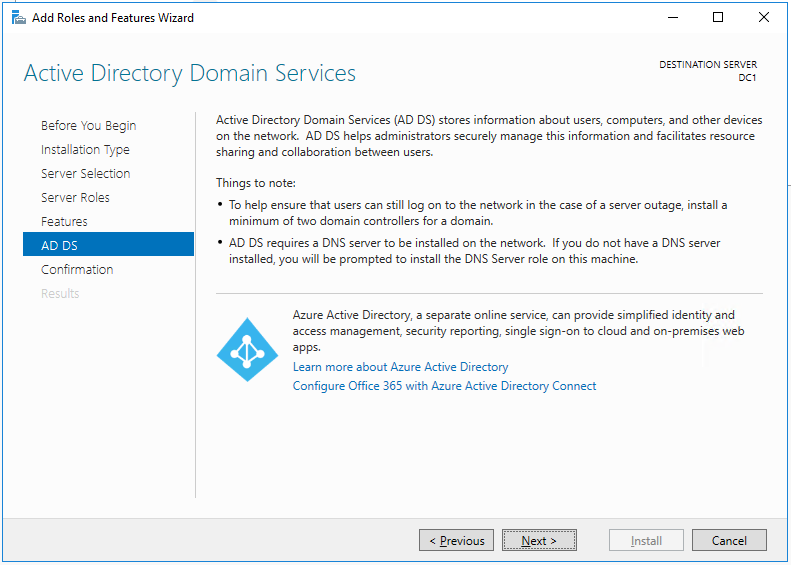
You now arrived at the Server Roles section.
Check the checkbox at ‘Active Directory Domain Services’.
It will automatically propose you to add some additional features. Click on ‘Add Features’.
Click ‘Next’, don’t select any more features and click ‘Next’ again.
Click ‘Next’ again.
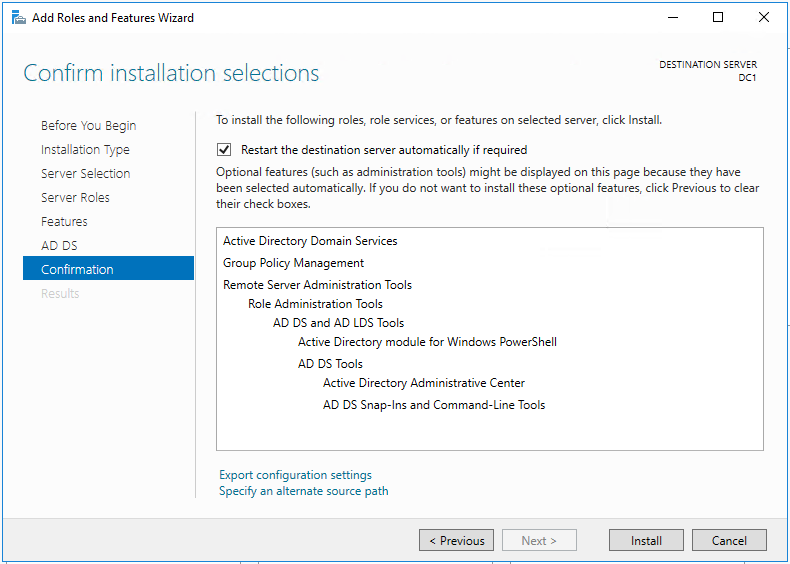
You’ll now arrive at the confirmation screen. Since this is new server which is not in use yet, I checked the ‘Restart if required’ checkbox.
Click on ‘Install’ to begin the installation.
Which will you a screen like this:
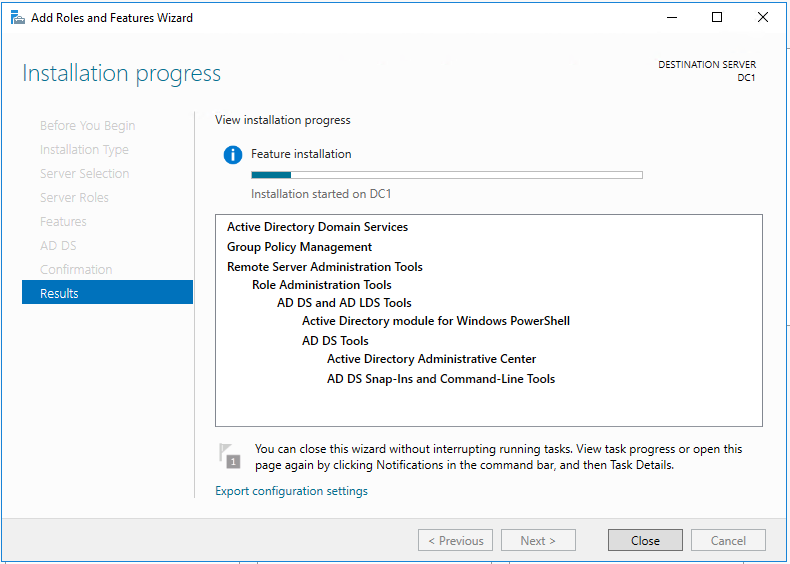
Now sit back and relax 🙂
In a small moment you’ll get the results.

Click ‘Close’.
On Server Manager, left hand side, you now see ‘AD DS’.
You are now half way of your brand new Domain Controller 😉
On the top of server manager windows, there is also a notification flag icon with an explanation mark.
Click on the flag to see the Post-deployment Configuration message.
Click on ‘Promote this server to a domain controller’.

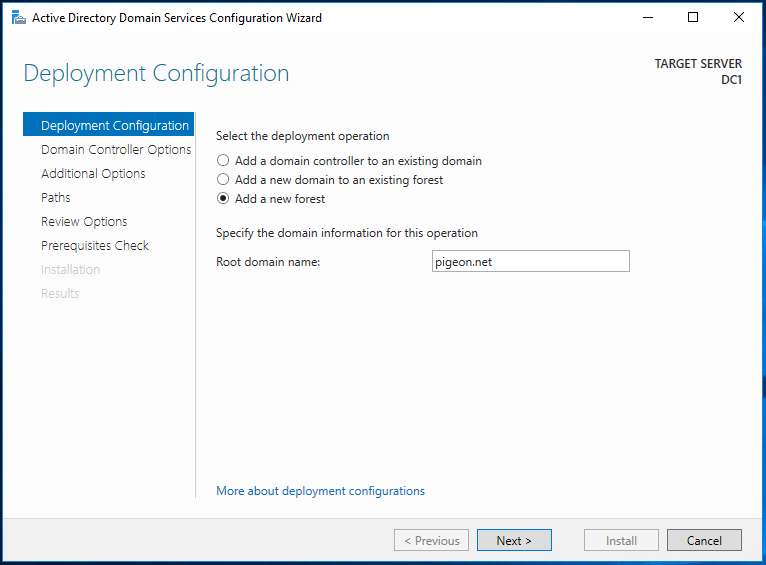
You entered the Active Directory Domain Services Configuration Wizard.
Select ‘Add a new forest’ and enter the name of your root domain name.
In the example below, I will use ‘pigeon.net’ as root domain name.
Click ‘Next’.
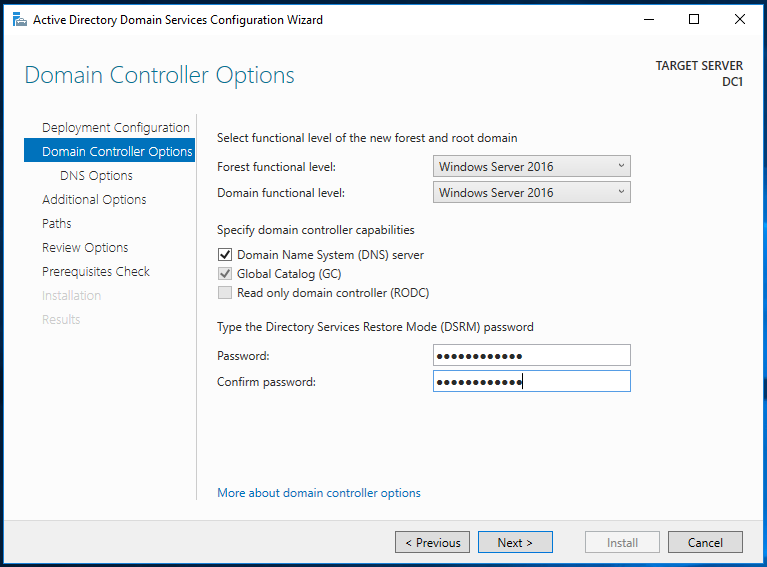
Enter a password of your choice and click ‘Next’.
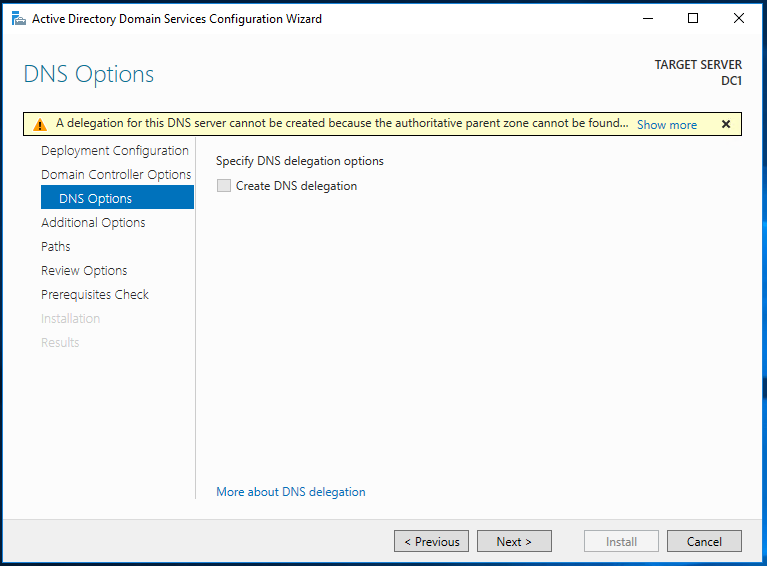
Ignore the message below and click ‘Next’.
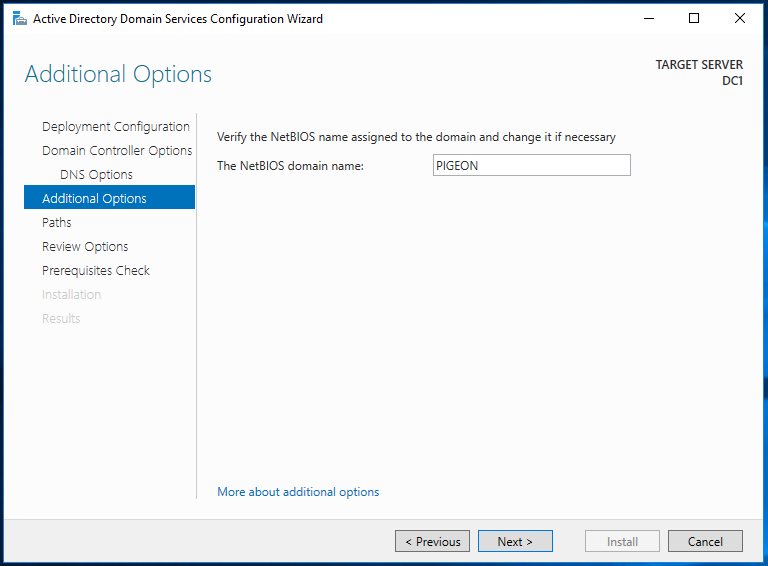
Most probably the name automatically proposed as NetBIOS domain name will be ok for you.
Click ‘Next’.
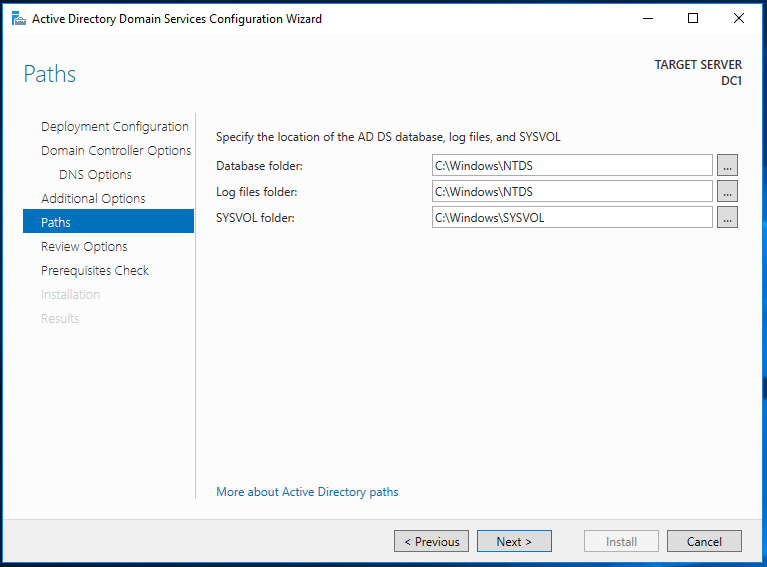
You’ll see a screen about paths now. You probably will not want to change anything here.
Click ‘Next’.
Review your configuration.
There is also an interesting ‘View script’ button.
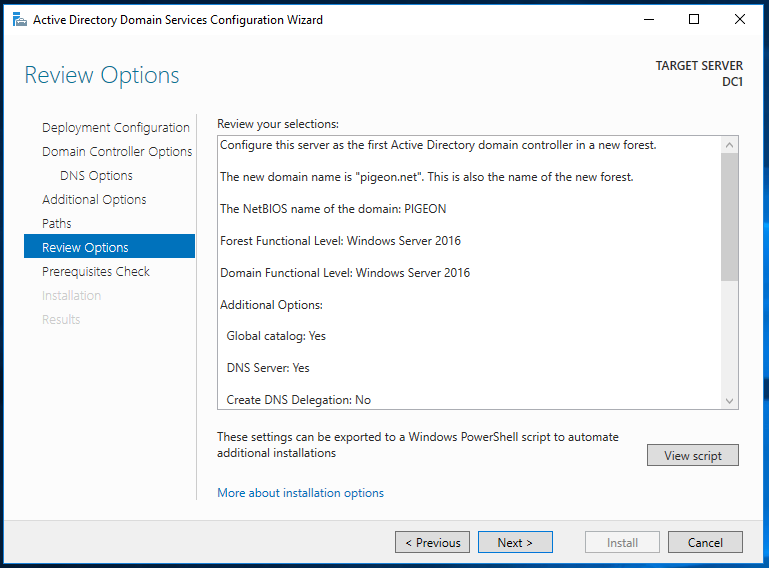
Just for information, I hit the view script button and got the following PowerShell script.
Always handy to avoid the wizard above.
#
# Windows PowerShell script for AD DS Deployment
#

Import-Module ADDSDeployment
Install-ADDSForest `
-CreateDnsDelegation:$false `
-DatabasePath "C:\Windows\NTDS" `
-DomainMode "WinThreshold" `
-DomainName "pigeon.net" `
-DomainNetbiosName "PIGEON" `
-ForestMode "WinThreshold" `
-InstallDns:$true `
-LogPath "C:\Windows\NTDS" `
-NoRebootOnCompletion:$false `
-SysvolPath "C:\Windows\SYSVOL" `
-Force:$true
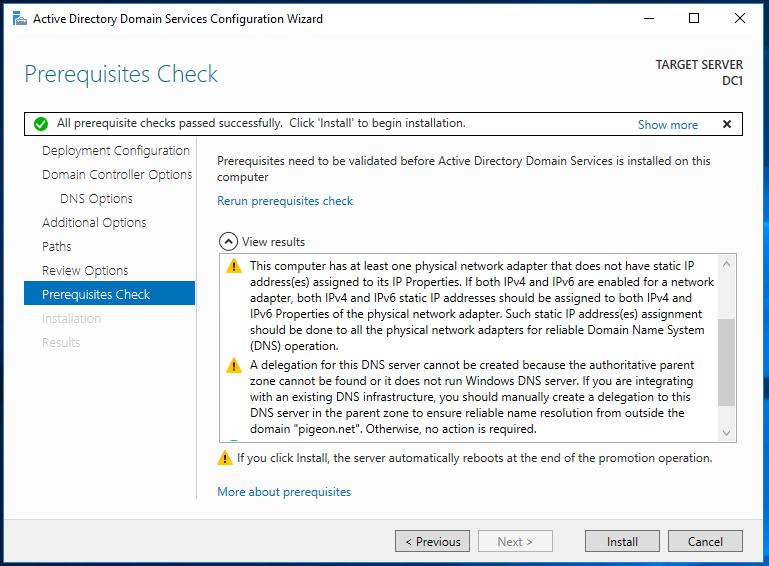
Click ‘Next’ to start the prerequisites checks.
On my screenshot you’ll see some warning about stuff no static IP address being configured. On my test environment I assign a static IP via DHCP to this server.
But as you can see all check passed successfully.
Click ‘Install’ to continue.
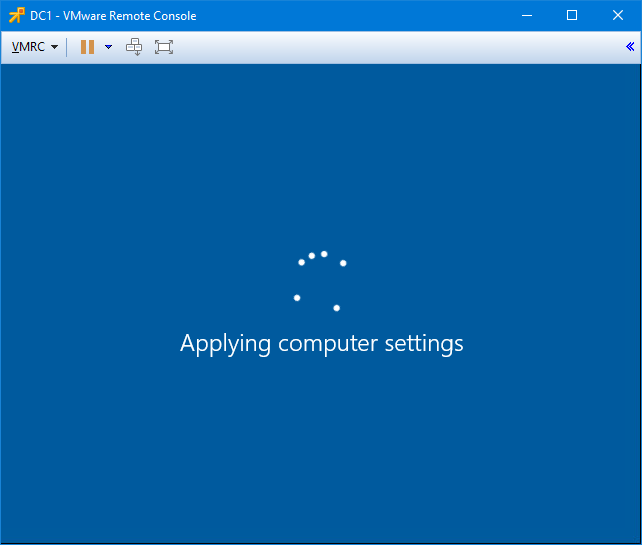
After a few seconds you will loose your RDP connection since the machine will reboot.
You’ll see the Applying computer settings screen for quite some time if you check the console.
PS: Keep in mind on my test environment I am having a VyOS which has a conditional forwarder for pigeon.net
So everything on test environment network passes through that VyOS router. It doesn’t matter pigeon.net already existing on the internet and being owned by somebody else because on my network the DNS for pigeon.net will always be resolved by 10.99.0.10
You can find the article about VyOS on my network on this link.
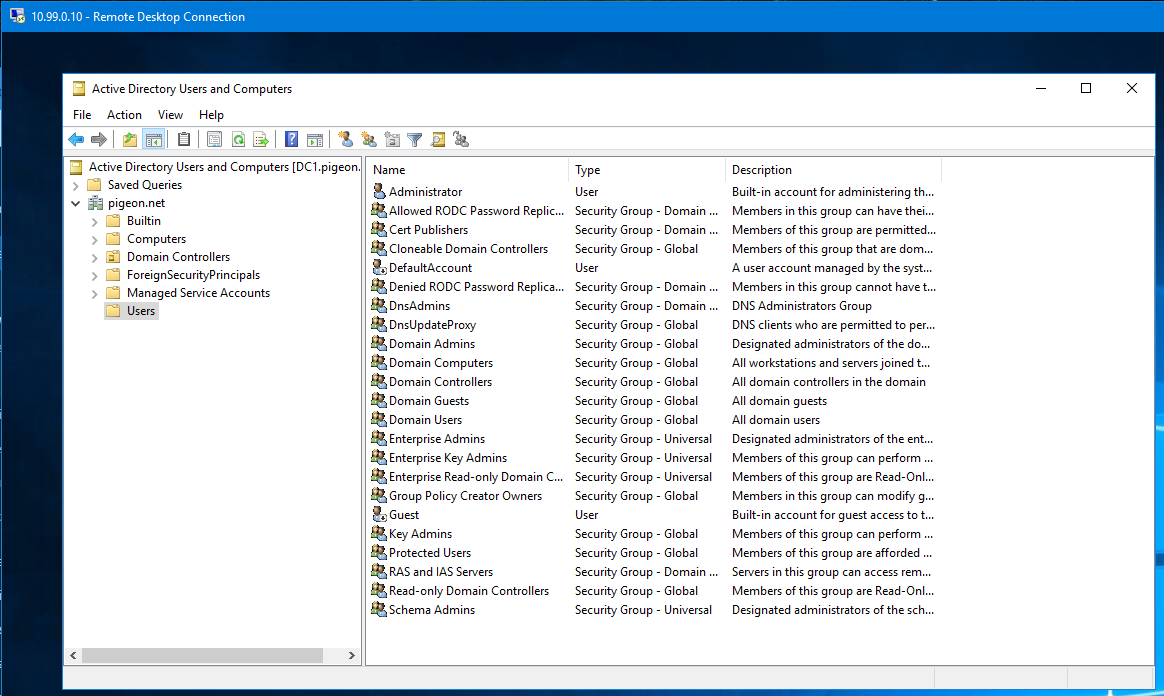
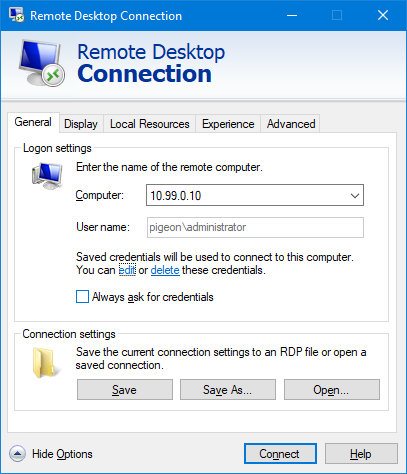
The installation is now done and I get the login screen again.
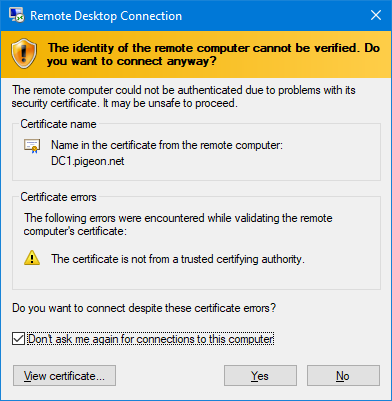
Open a RDP connection to the domain controller and login using your domain credentials.
First time you login, accept the certificate errors and change your password because the system forces you to change it.
Your domain and Domain Controller is ready to be used!