Install Nutanix CE (Community Edition)
You probably already heard of Nutanix CE.
I like having some playgrounds to play arround. Just some kind of test environment at home with no strings, nor responsibilities attached.
There are two possibilities for a more or less professional test environment at home:
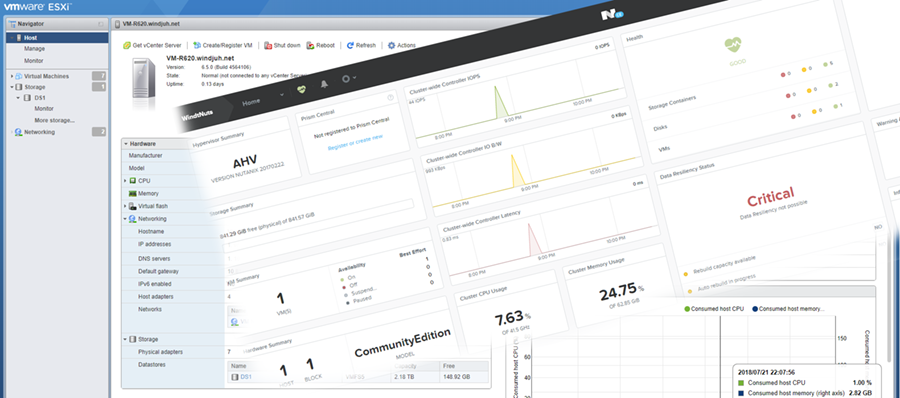
- VMware ESXi Free which can be downloaded at https://my.vmware.com/en/web/vmware/evalcenter?p=free-esxi6
- Nutanix CE (Community Edition) which can be downloaded at https://next.nutanix.com/download-community-edition-15/download-getting-started-with-ce-5-6-24210
For both websites you will need an account -can be created free of any charge- before being able to download.
In this article, I’m obviously gonna focus on Nutanix CE. Before starting to write this article I booted my good old Dell PowerEdge R610 which I didn’t boot in ages. I knew there was some old version of Nutanix still installed on it but wanted to start from scratch.
The official procedure of installing Nutanix CE can be found on: https://portal.nutanix.com/#/page/docs/details?targetId=Nutanix-Community-Edition-Getting-Started:Nutanix-Community-Edition-Getting-Started
At moment of writing, the best way of installing Nutanix CE is unfortunately still imaging a USB stick.
Therefore I downloaded file ce-2017.07.20-stable.img.gz from their website.
I am not a big fan of this installation process. You have to image your device which is not really user friendly.
Once you downloaded the file, unzip it and image your device.
Personally I plugged a USB stick into a Linux machine and did:
- gunzip ce-2017.07.20-stable.img.gz
- dd if=ce-2017.07.20-stable.img of=/dev/sdX
Great, now your USB stick is ready for use.
Nutanix is a hypervisor… Check in the BIOS if VT-x has been enabled.
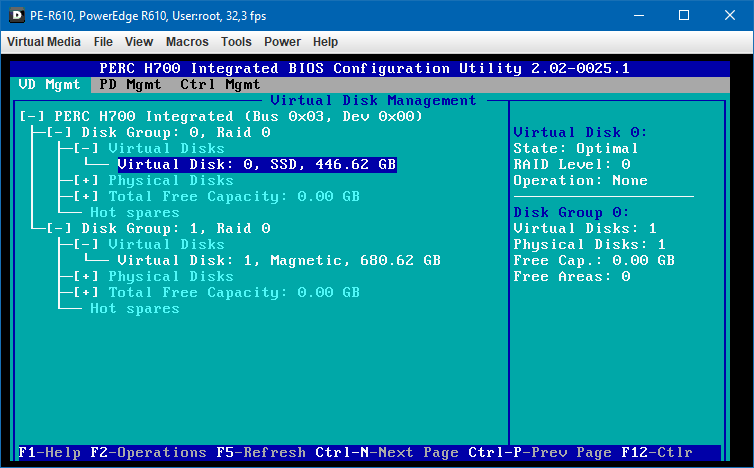
Also make sure your drives are in Non-RAID mode.
In case you run on older hardware (for example: a Dell PowerEdge R610…) and the installation process is not detecting any compatible disks, you can create virtual disks in RAID-0 mode. Not ideal, but it works.
- Boot into Boot Manager and select your USB drive to boot
- Do nothing or select the first option to boot

- At the next login prompt, type install and hit enter.
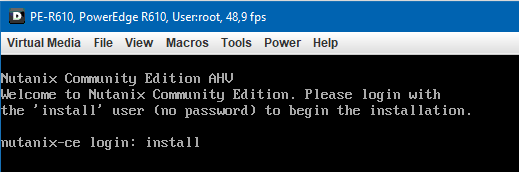
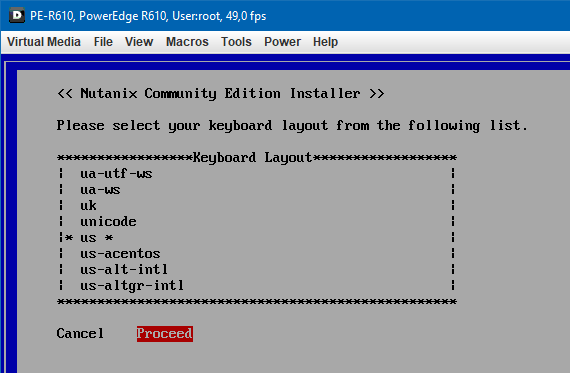
- Select you keyboard, select Proceed and hit enter.
- Enter the IP addresses for both the host and the controller.
The host is your actual hypervisor host. The controller is a virtual machine running on the host. Both need their own fixed IP addresses.
In the example below I statically assign the IP addresses on my DHCP server.
Thick the checkbox at “Create single-node cluster?”
Go to the EULA, hold the page down button, thick the accept box and move to start. Hit enter to start the installation.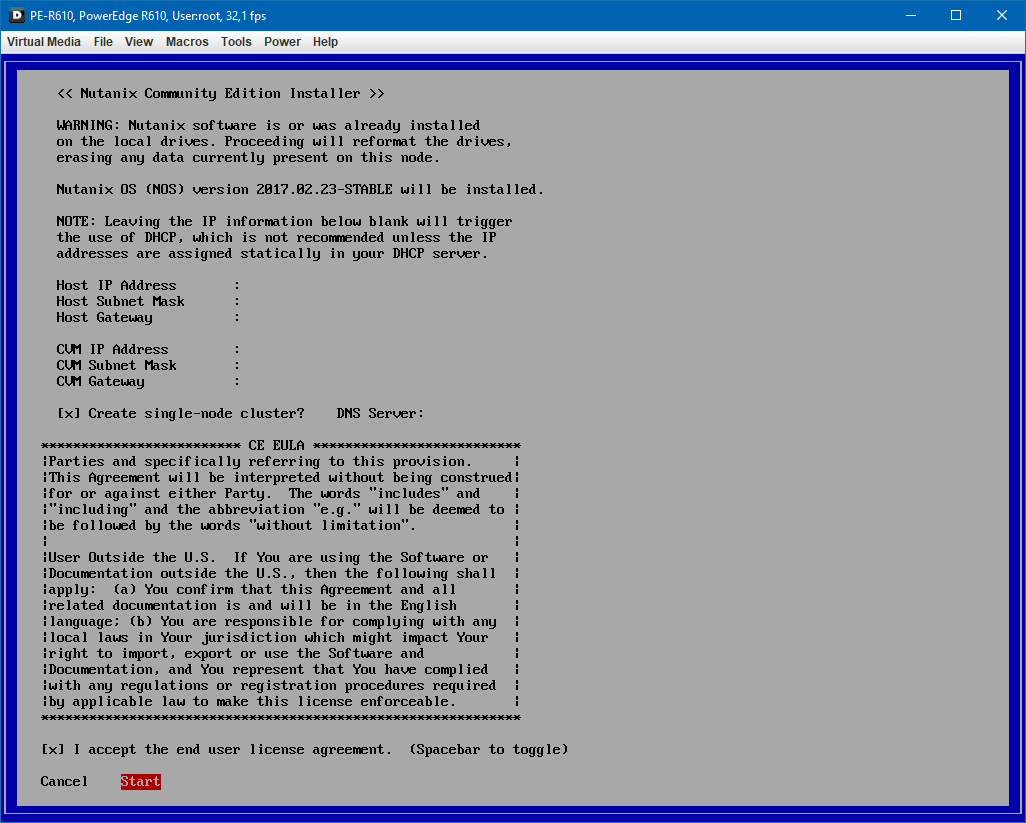
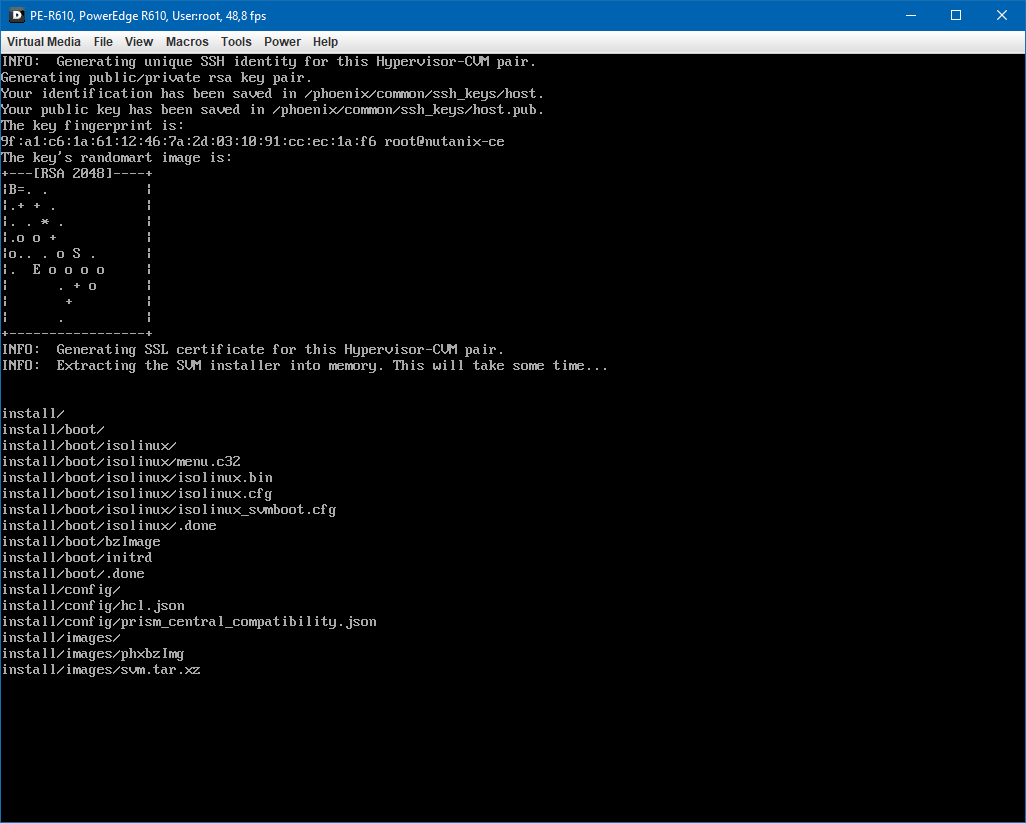
- You will see some screens like this
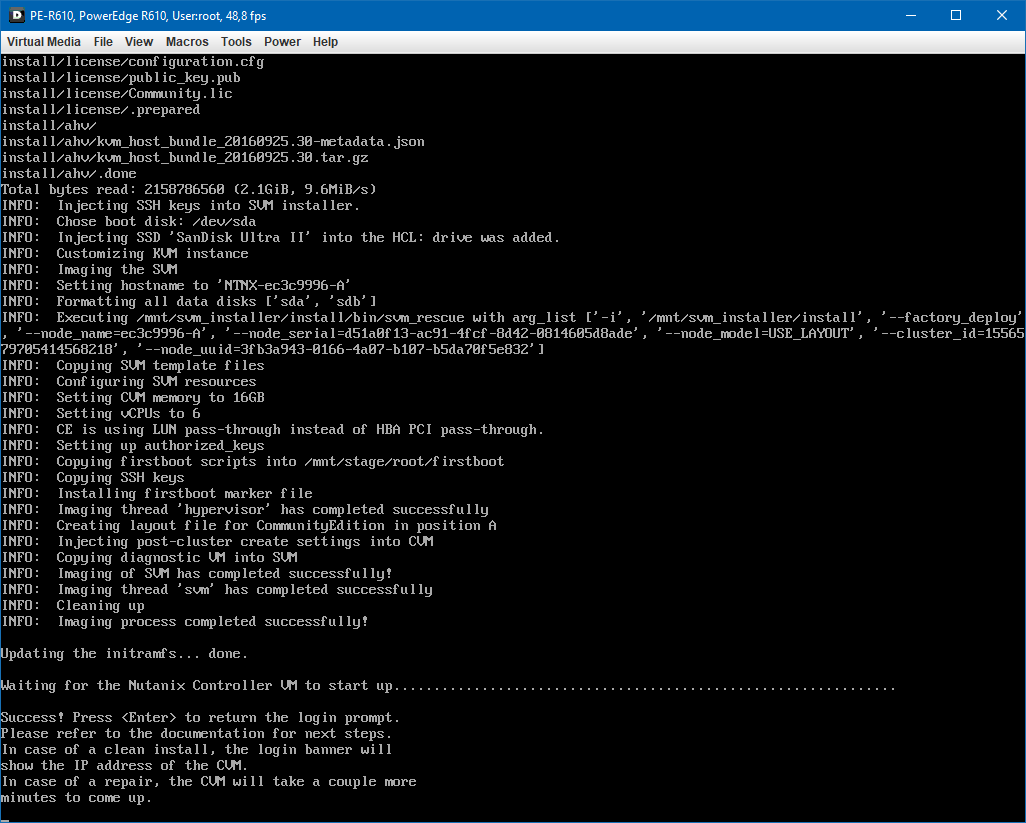
Note: the waiting may take some time - The IP address of the CVM, which is the controller btw, is shown on the screen when you’ve hit enter.
Open a browser and go to https://the-IP-address-of-the-CVM:9440
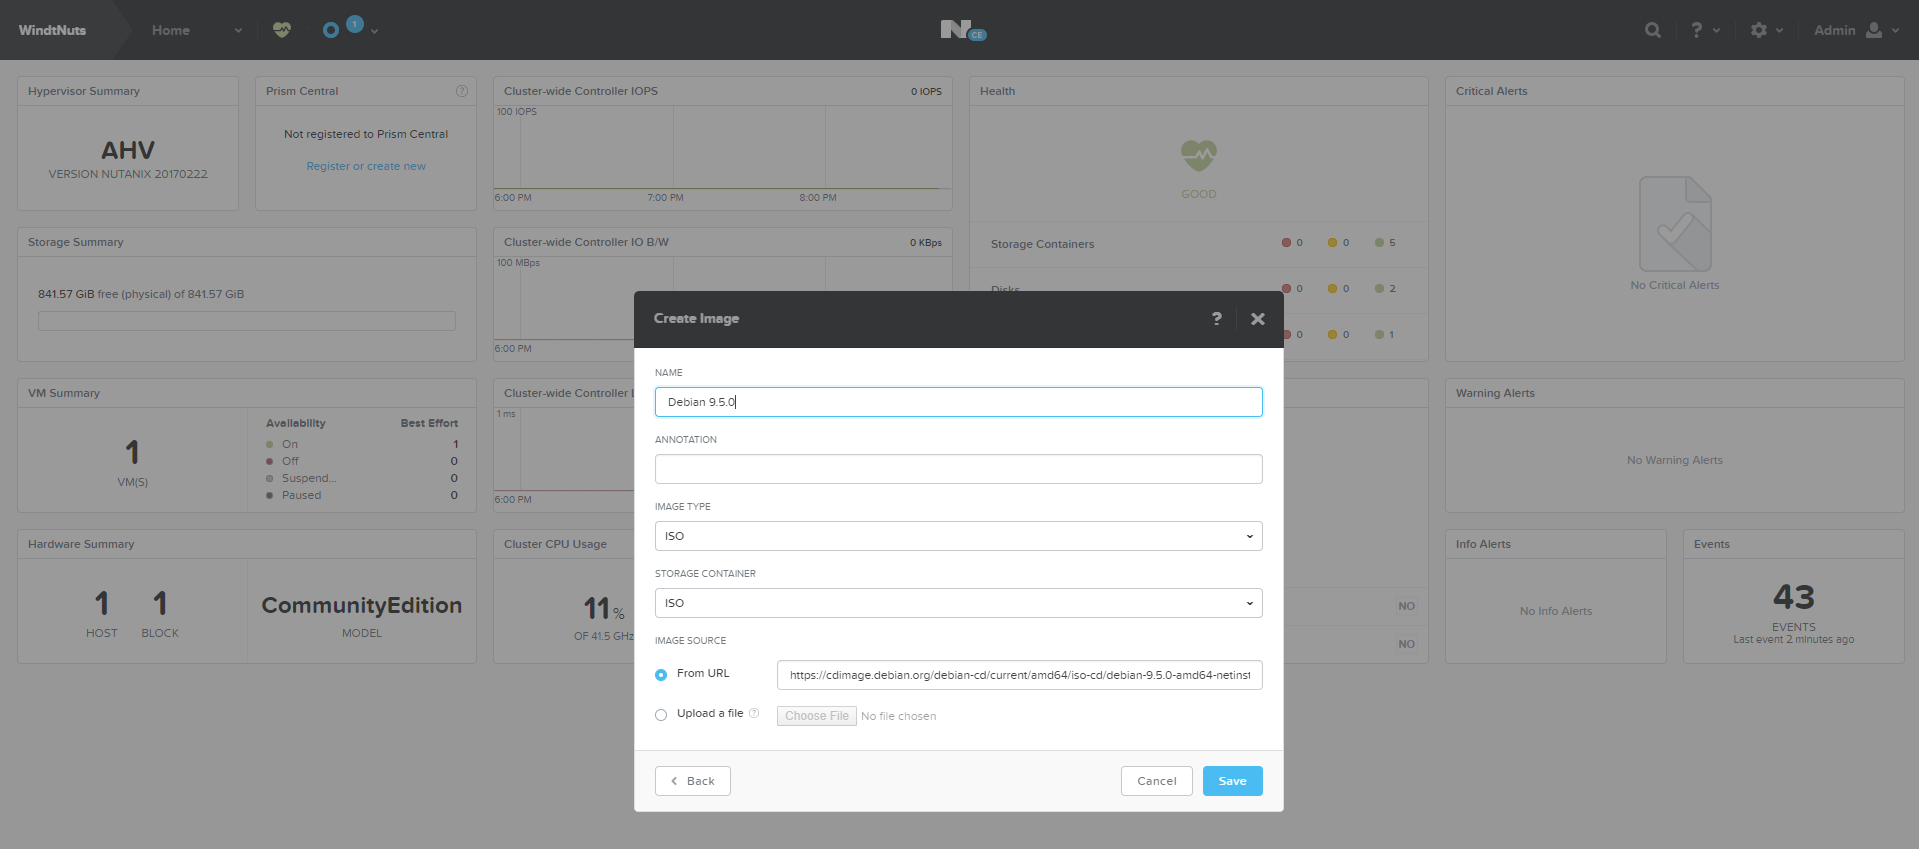
The default username and password of Nutanix CE is admin/admin - Nutanix CE will now prompt you to enter the credentials of you Nutanix NEXT account. After entering your credentials, you’ll see the management screen.
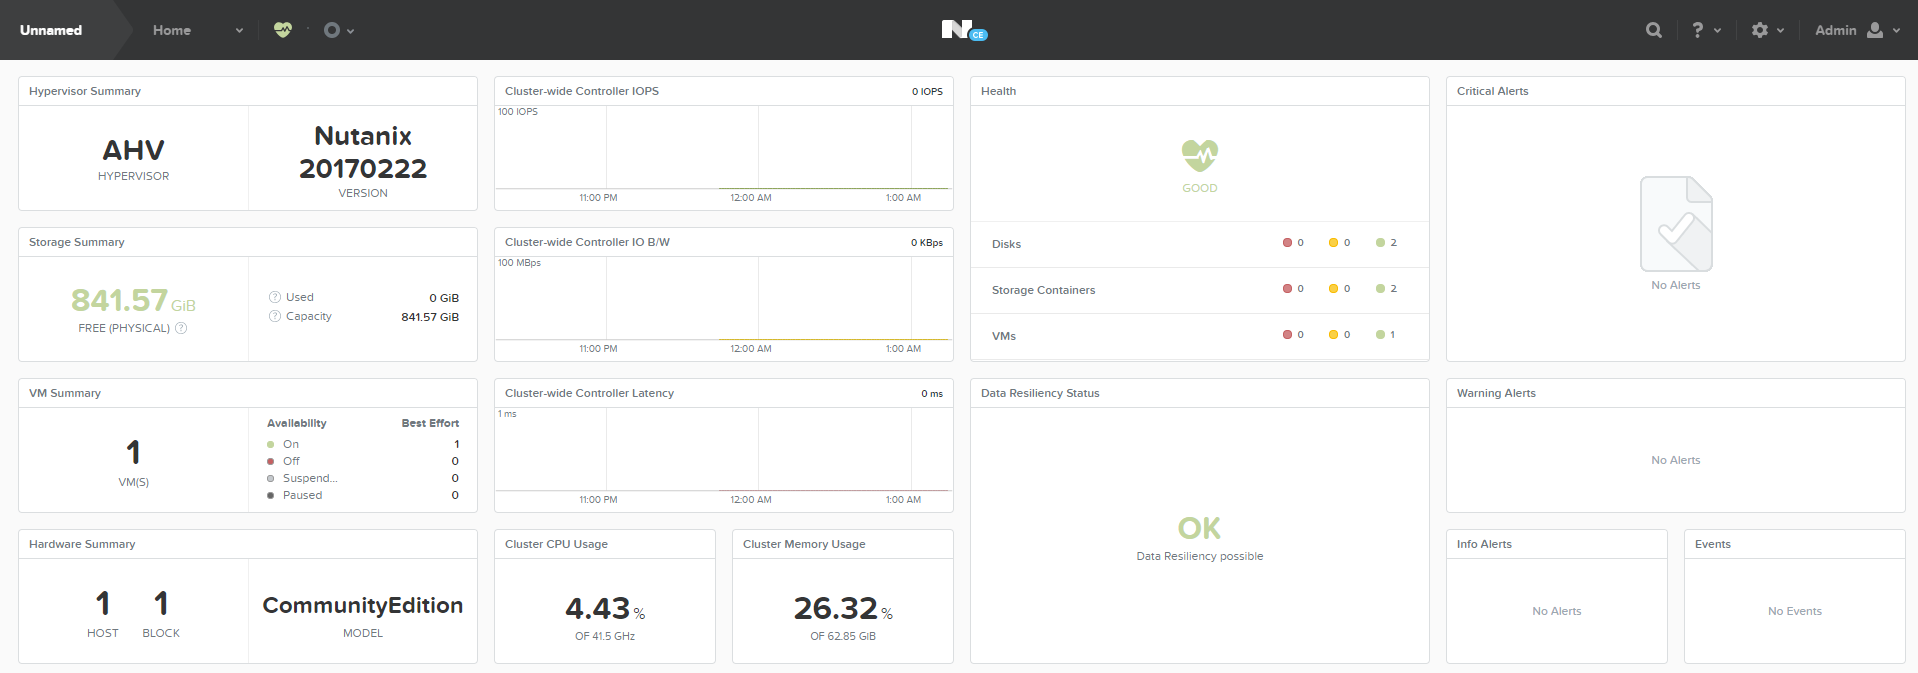
- That’s it for the installation.